
Case Study #2
Mark came knowing he was losing a tooth. This can be very emotional and difficult. We talked about all his options, and the time and fees associated with each of them. He really wanted a bridge, and to make the rest of his smile work well and look nice. After planning and executing the plan Mark wanted, he left with the smile he chose. He looks great.


Step 1
choice to make
Mark had a front tooth that was going bad. It was resorbing from the inside out. He needed it removed. But needed to decide how to replace it.

Step 2
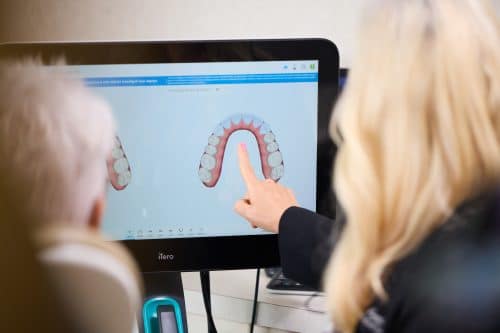
Planning the process
Mark’s tooth was removed. He had a very large bone defect. He did not want an implant or any grafting. We planned what we wanted his teeth to look like digitally.

Step 3
Starting to take life
After designing how Mark’s tooth would look digitally, we needed models to use during the healing phase. We used out 3D printer to print out a copy of what we designed.

Step 4
Needing temporary
A copy was made of the digital wax up to make his temporaries. This way we could make sure we liked how they would fit in his smile.

Step 5
Temporary in place
Marks tooth is now removed, and he has had some healing. A temporary is made and approved by Mark. He likes the length, and shape.

Step 6
Finale
The temporaries are removed, and we now have the porcelain bridge and crowns seated. His bite is checked. The cement is cleaned. Mark is ready to go.